

Step-by-Step Guide to Installing Solar Panels
- robelh48
- Aug 24, 2025
- 3 min read
Installing solar panels is a smart way to reduce energy bills and contribute to a cleaner environment. This guide will walk you through the essential steps to install solar panels efficiently and safely. Whether you are a homeowner or a small business owner, understanding the process can help you make informed decisions and ensure a successful solar energy system setup.
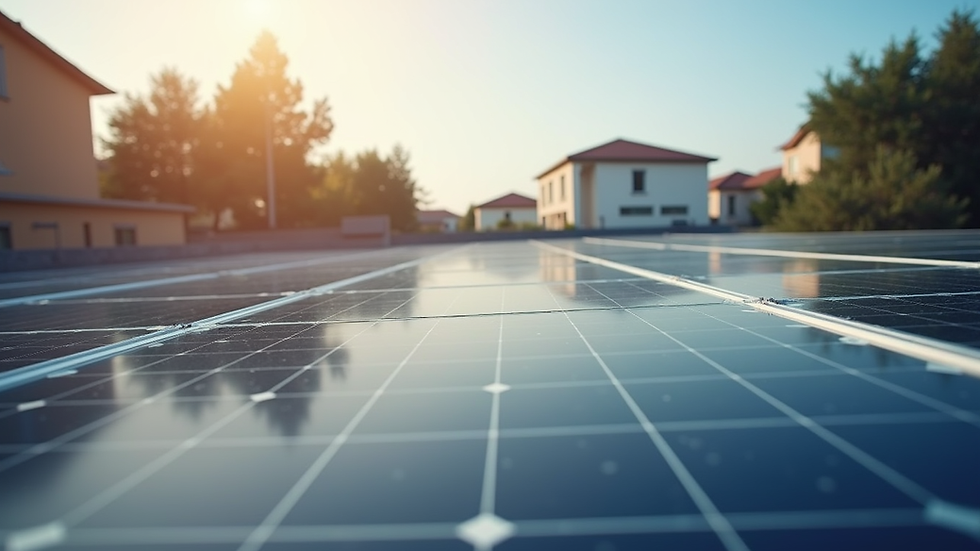
Understanding Solar Panel Basics
Before diving into installation, it is important to understand what solar panels are and how they work. Solar panels convert sunlight into electricity using photovoltaic cells. These cells capture sunlight and generate direct current (DC) electricity, which is then converted to alternating current (AC) by an inverter for use in your home or business.
Solar panels come in different sizes and power ratings, typically measured in watts. The number of panels you need depends on your energy consumption and the available roof space. Proper placement and angle are crucial to maximize sunlight exposure and energy production.

Preparing for Solar Panel Installation
Preparation is key to a smooth installation process. Start by assessing your roof’s condition and orientation. South-facing roofs with minimal shading are ideal for solar panels. Check for any damage or repairs needed before installation.
Next, calculate your energy needs by reviewing past electricity bills. This will help determine the size of the solar system required. You can use online calculators or consult with a solar professional.
Obtain necessary permits and approvals from local authorities. Regulations vary by location, so it’s important to comply with building codes and utility company requirements. Following solar panel installation guidelines ensures your system meets safety and performance standards.
Gather all required materials and tools, including solar panels, mounting brackets, inverters, wiring, and safety equipment. Hiring a certified electrician or solar installer is recommended for complex systems.

What is the 36 inch solar rule?
The 36 inch solar rule is a safety guideline that requires a minimum clearance of 36 inches around solar panels for safe access and maintenance. This space allows firefighters and maintenance personnel to navigate the roof without obstruction during emergencies or routine inspections.
This rule is especially important in residential areas where roof access can be limited. Ensuring this clearance helps prevent accidents and facilitates quick response in case of fire or other hazards.
When planning your solar panel layout, keep this rule in mind to avoid costly adjustments later. It also helps maintain proper airflow around the panels, which can improve their efficiency and lifespan.
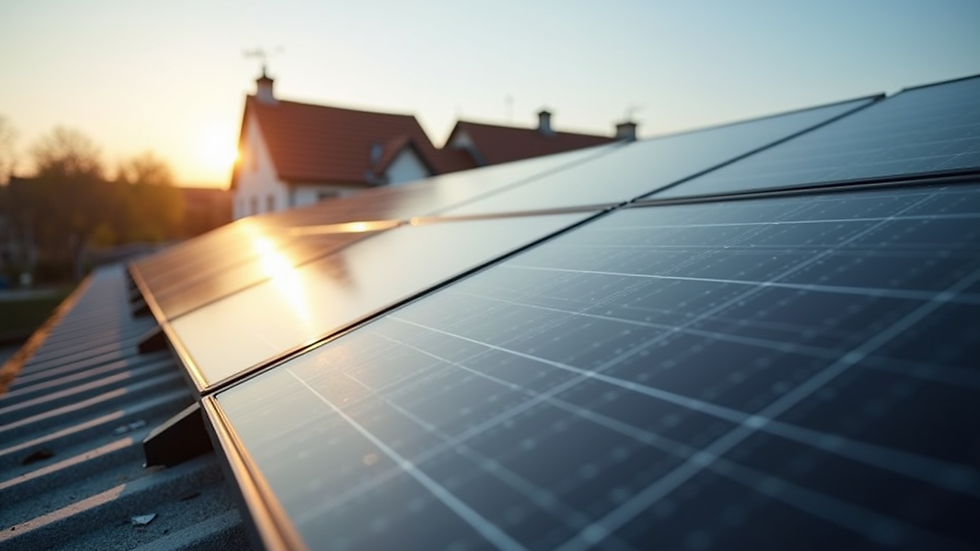
Installing the Solar Panels Step-by-Step
Mounting the Racking System
Begin by installing the mounting brackets on your roof. These brackets secure the solar panels and must be firmly attached to the roof rafters for stability. Use a level to ensure the brackets are aligned correctly.
Attaching the Solar Panels
Once the racking system is in place, attach the solar panels to the mounts. Panels are usually secured with clamps or bolts. Handle panels carefully to avoid damage.
Wiring the Panels
Connect the solar panels in series or parallel depending on your system design. Use weatherproof connectors and ensure all wiring is properly insulated. Route the wires to the inverter location.
Installing the Inverter
The inverter converts DC electricity from the panels into usable AC electricity. Mount the inverter close to your main electrical panel and connect it to the solar array wiring.
Connecting to the Electrical Panel
A licensed electrician should connect the inverter output to your home’s electrical panel. This step includes installing a dedicated circuit breaker and ensuring all connections meet electrical codes.
Testing the System
After installation, test the system to verify it is working correctly. Check the inverter display for power output and ensure there are no error messages.

Maintenance Tips for Long-Term Performance
Maintaining your solar panels is essential to keep them operating efficiently. Here are some practical tips:
Regular Cleaning: Dust, dirt, and debris can reduce panel efficiency. Clean panels with water and a soft brush every few months.
Inspect for Damage: Check for cracks, loose wiring, or corrosion regularly.
Monitor Energy Output: Use monitoring software or inverter displays to track performance and detect issues early.
Trim Nearby Trees: Ensure no branches shade the panels during peak sunlight hours.
Schedule Professional Inspections: Have a solar technician inspect your system annually.
Proper maintenance can extend the life of your solar panels and maximize your return on investment.
Taking the Next Step Toward Solar Energy
Installing solar panels is a rewarding project that can save money and reduce your carbon footprint. By following this step-by-step guide and adhering to solar panel installation guidelines, you can ensure a safe and efficient solar energy system.
If you are unsure about any part of the process, consider consulting with a professional solar installer. They can provide tailored advice and handle complex tasks like electrical connections and permitting.
Embrace the power of the sun and start your journey toward sustainable energy today!

Comments